In this article, we will go through a case study of automating downloading a file from a website, customizing its values, and finally uploading it to AWS S3. Follow along to understand how it works and how to implement it on your own.
Before diving into the following content, we highly recommend that you read the article at here to get an overview of the concept of how we communicate with websites through their elements.
Logging into your target web
This section provides you with a guide on how to teach your robot to log in to the target web.
As a human, you will perform the following steps:
Open the browser
Click to close the pop-up banner
Type your ID in the ID section
Type your Password in the Password section
Click the submit button
In case your system remembers the section where you last logged in, you can add the step to click “Log out” before logging in again.
You will teach the robot exactly what you do by adding these six steps.

Then, you can check the results.
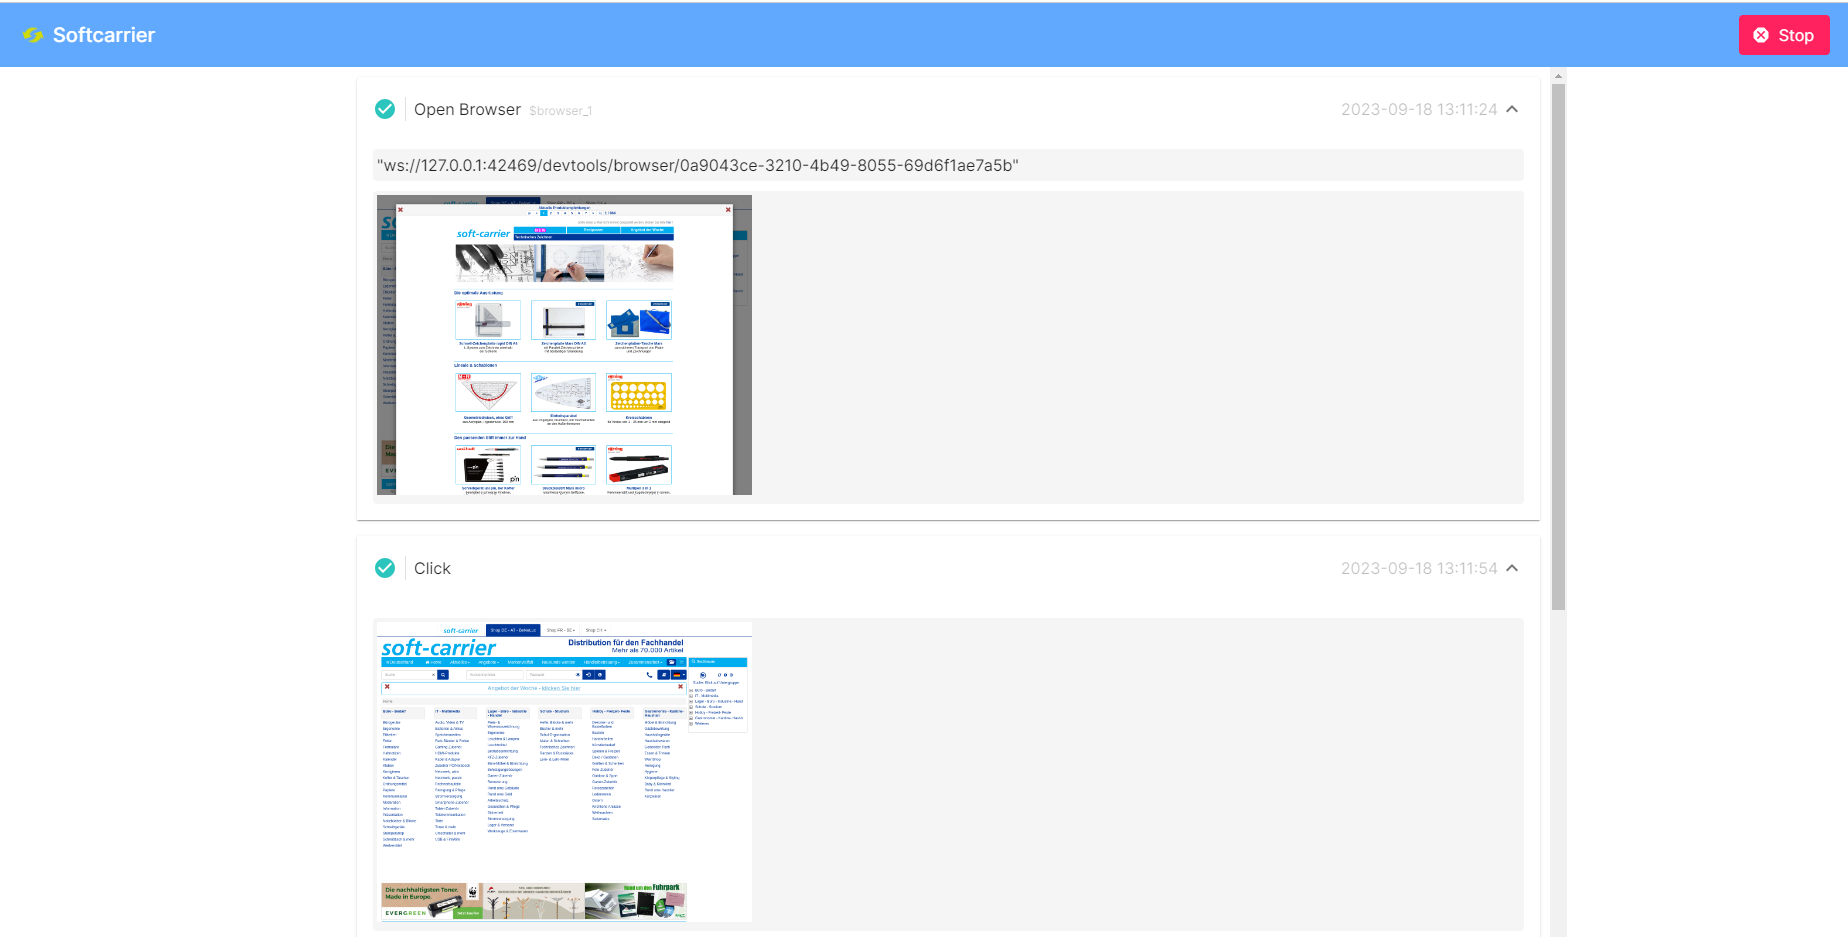
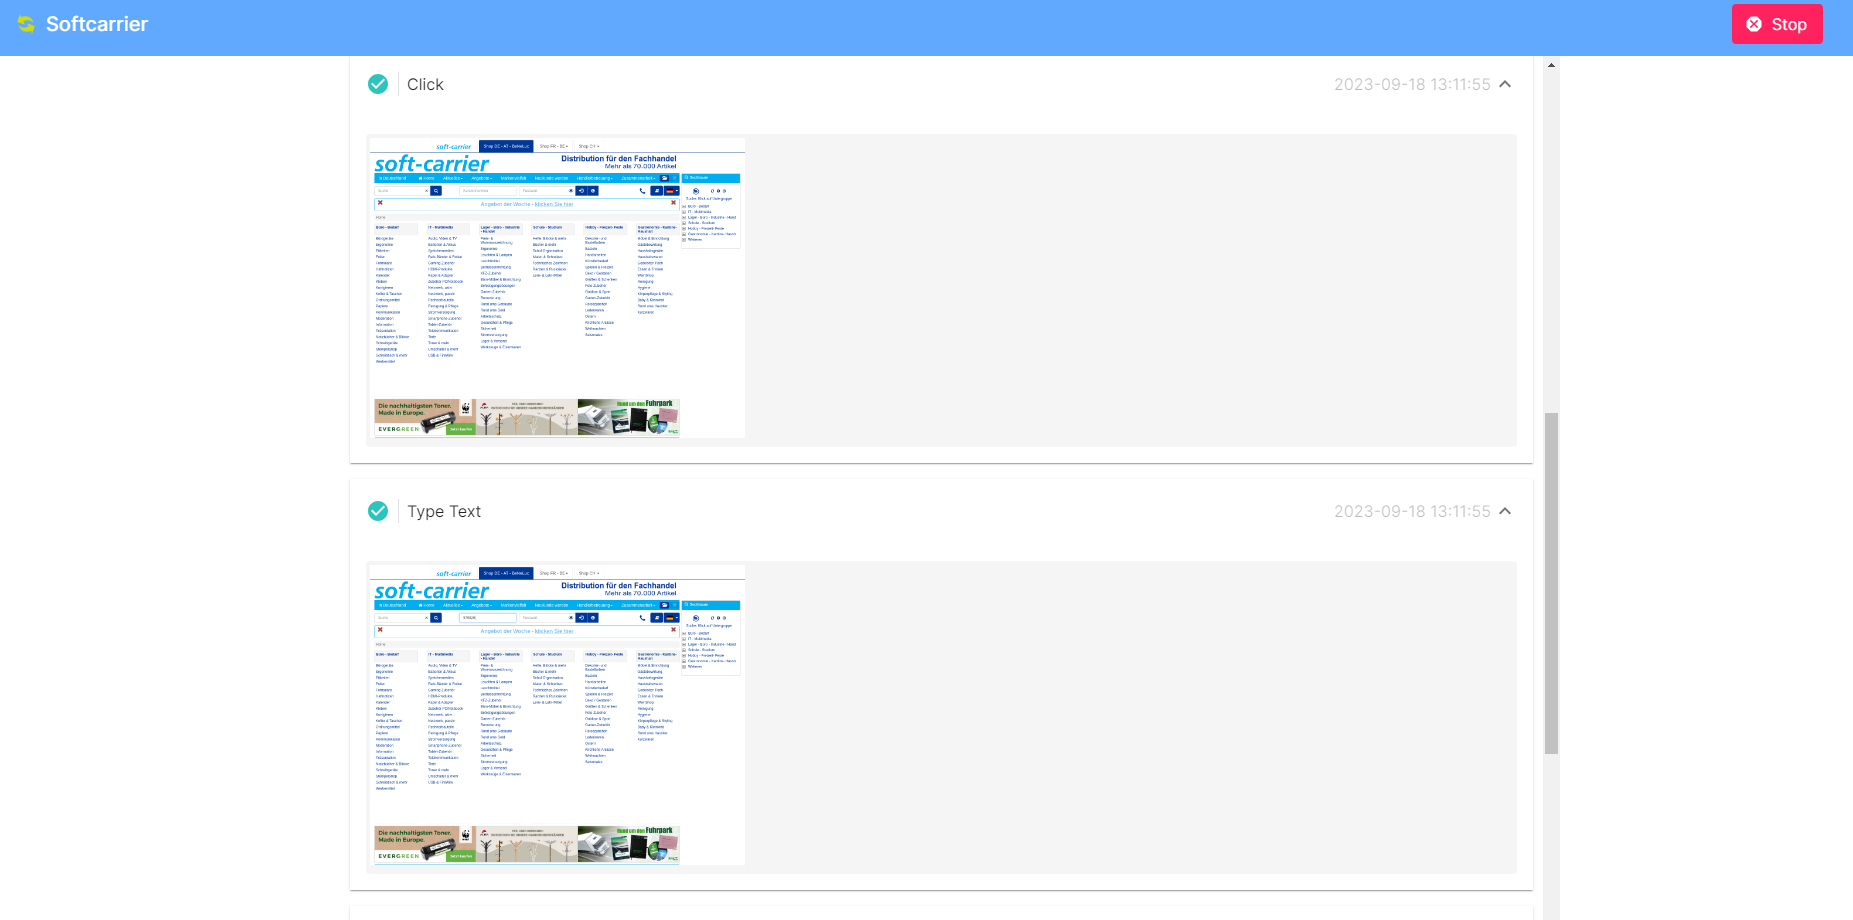
As you can see, the robot successfully logged into the system.
Grabbing your desired file
Now, after successfully logging into the system, you need to teach the robot what to do next to download the file.
In this case, you’ll:
- Click the select box.
- Choose the value from the select box.
- Finally, click the ‘Download’ button to get your desired file.

Simply add these steps to your robots. It’s easy, isn’t it?
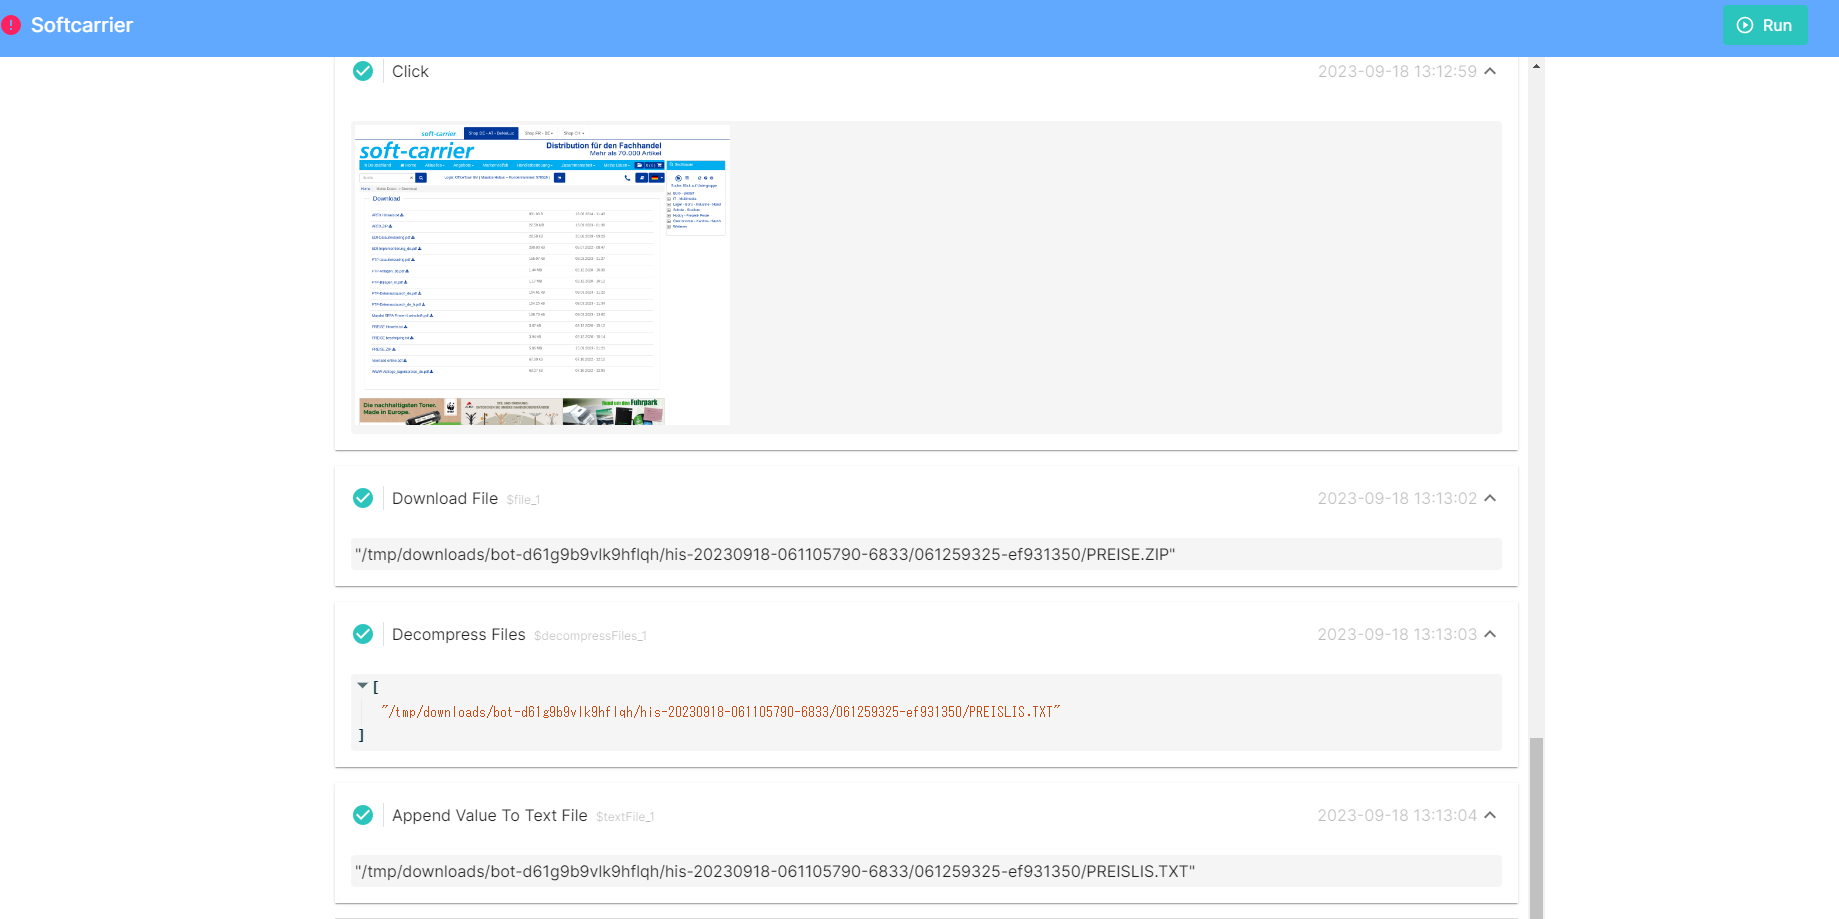
The file will be saved in the RPA CLOUD folder.
Adding headers to the file
Since the file is downloaded as a zip file, the next step is to decompress it to obtain your target file.
During this process, you can make use of the ‘Decompress file’ function and select your preferred language font.
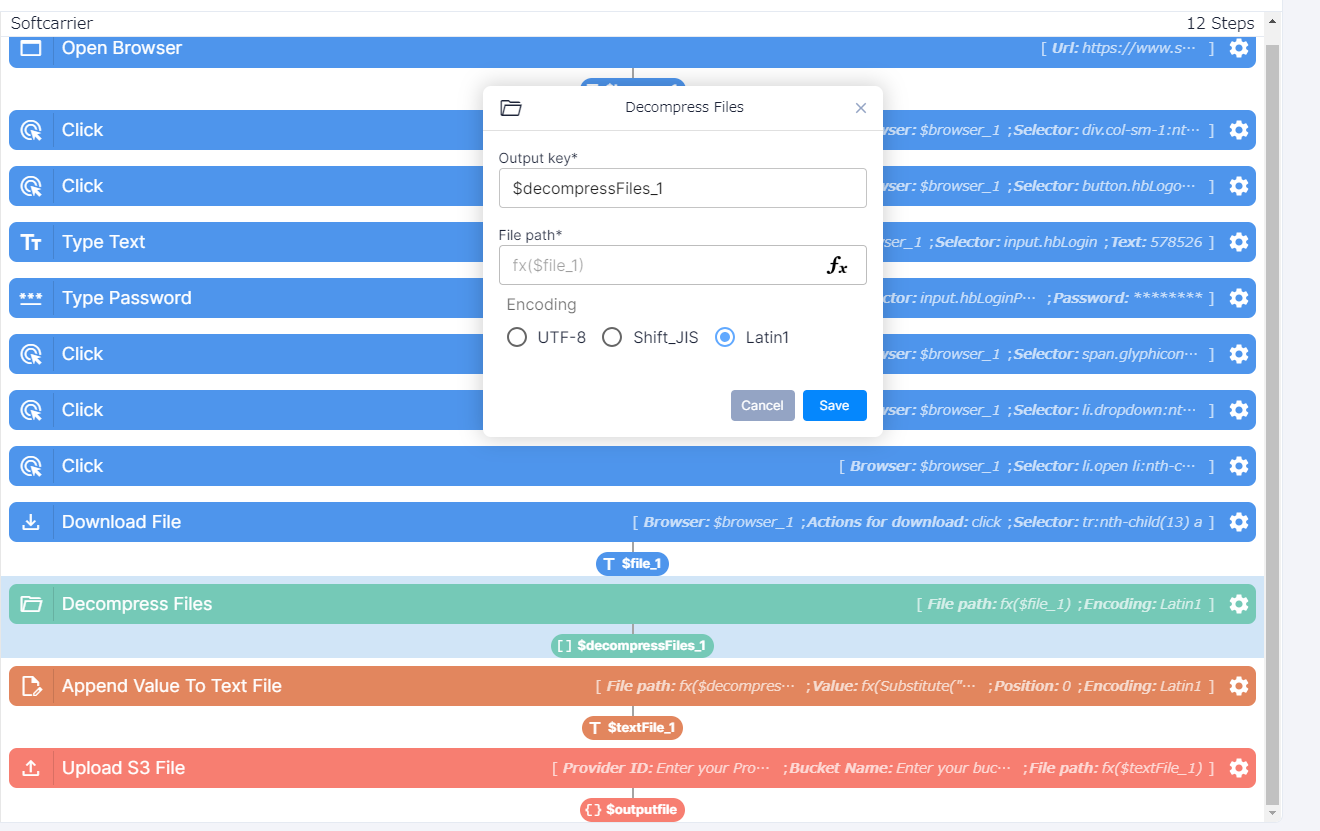
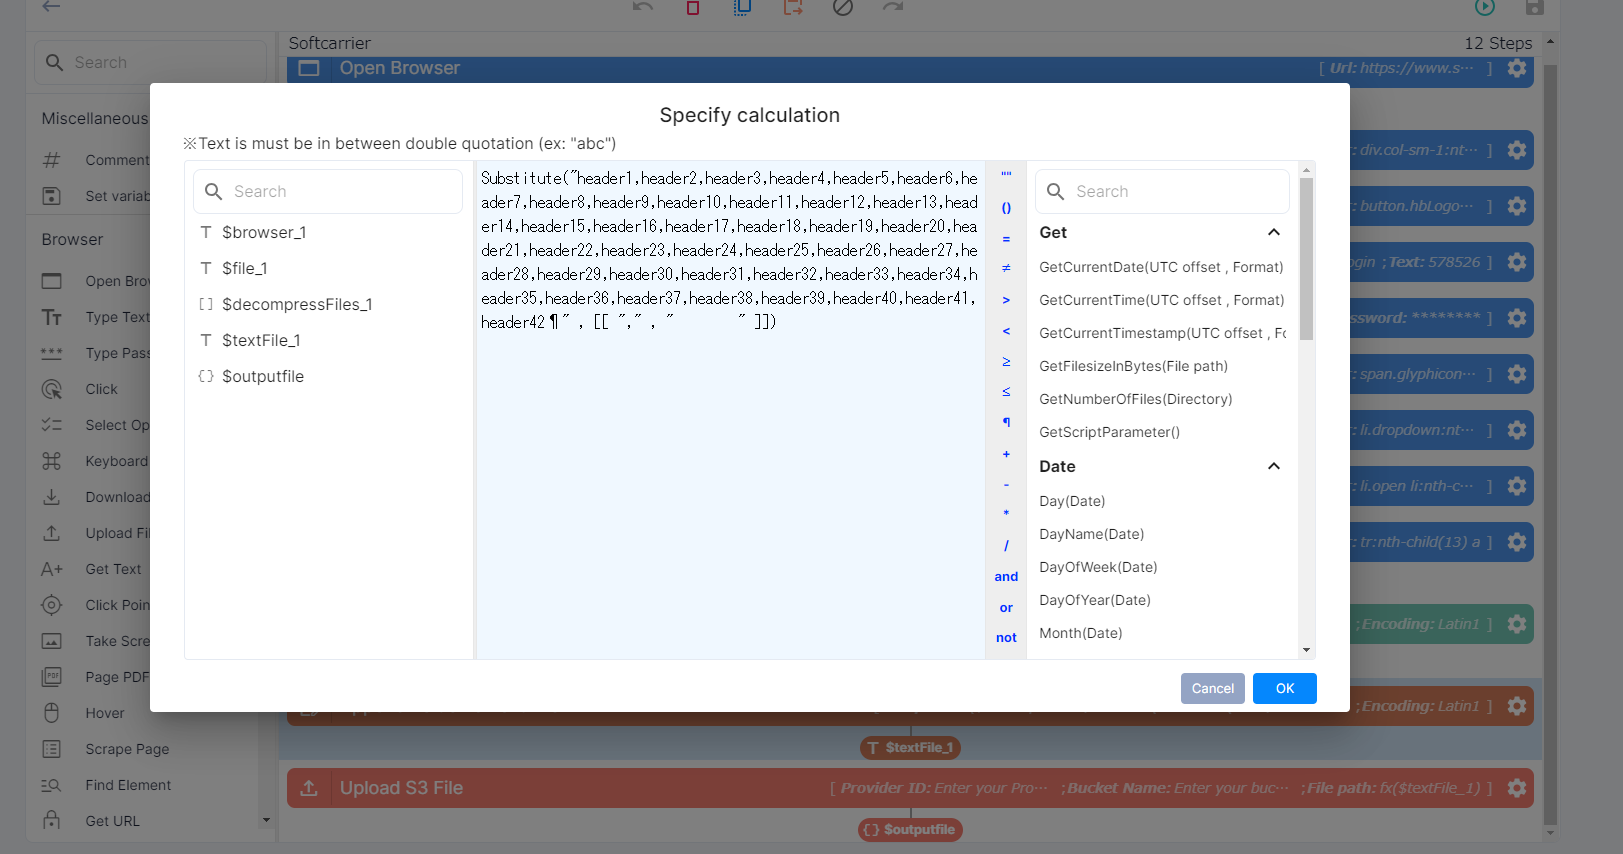
Furthermore, you have the option to utilize the ‘Append values’ function to add any additional data, such as headers.
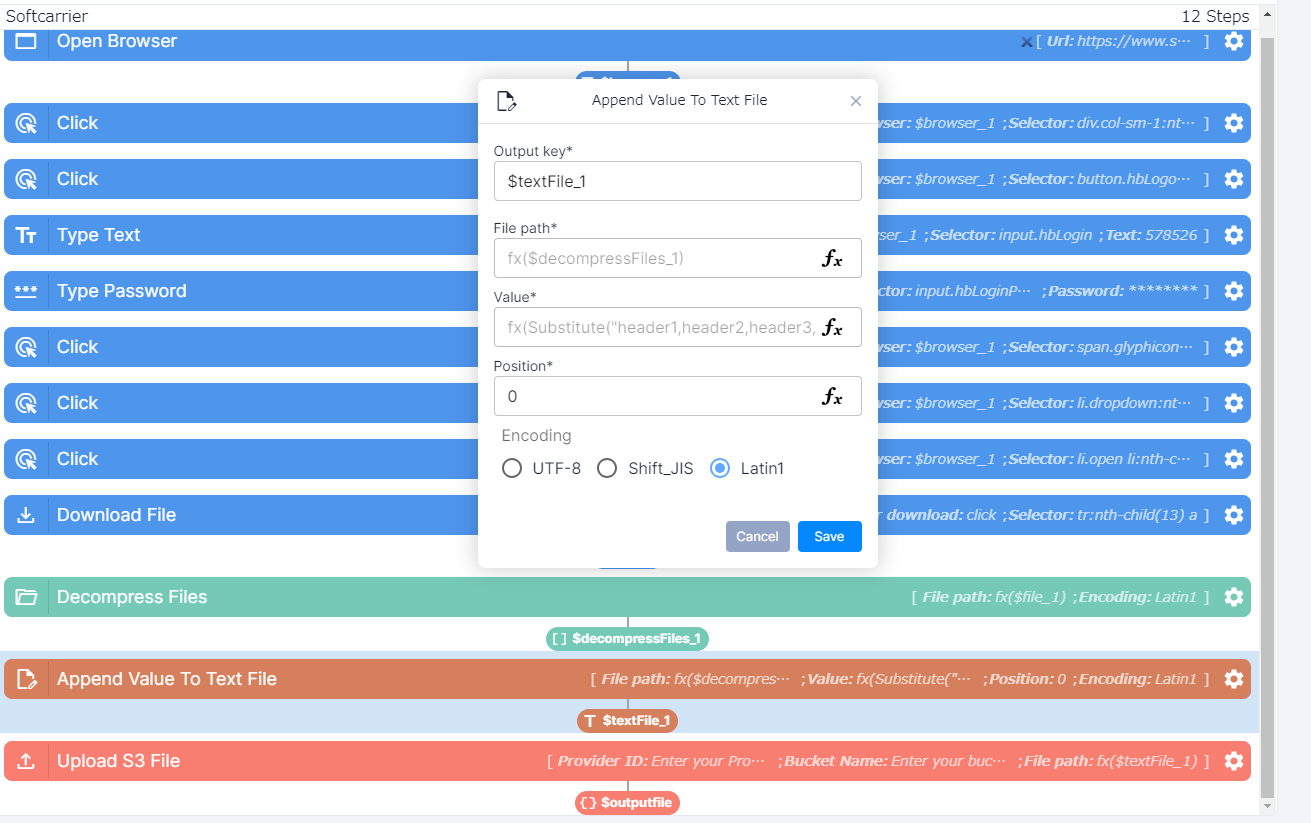
RPA CLOUD provides an extensive array of functions, granting you the freedom to tailor your additional data as needed.
Uploading to AWS S3
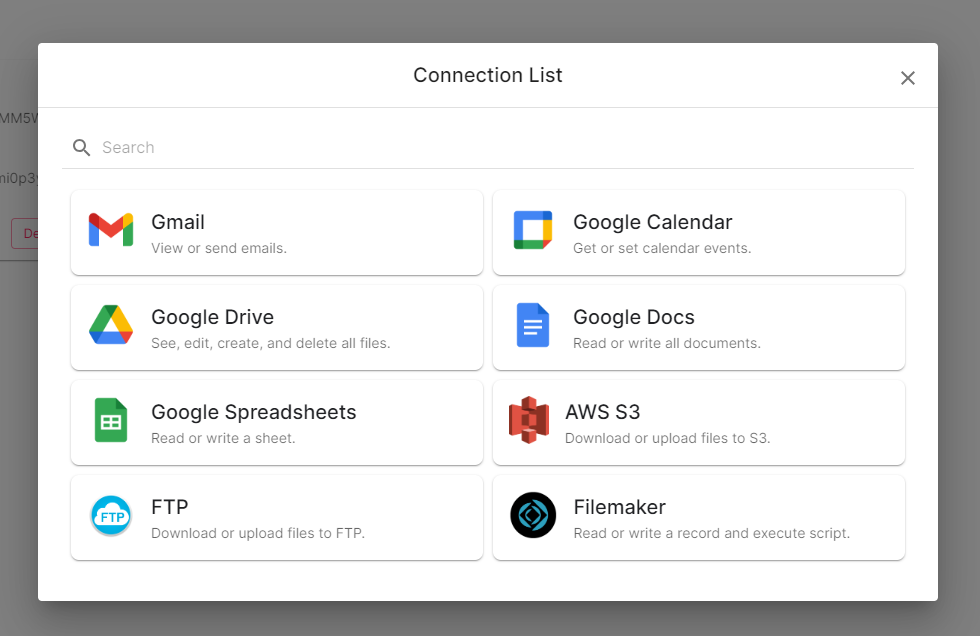
Now that you have your customized file, you can effortlessly upload it to AWS S3 after establishing a connection, a feature provided by RPA CLOUD.
- Create AWS S3 connection.
- Add the “Upload S3 file” ‘step in your robot
With these straightforward tests, you can now build a robot to assist you with this routine task. To learn how to schedule your robots, please refer to this article. Don’t hesitate to give it a try right away!


