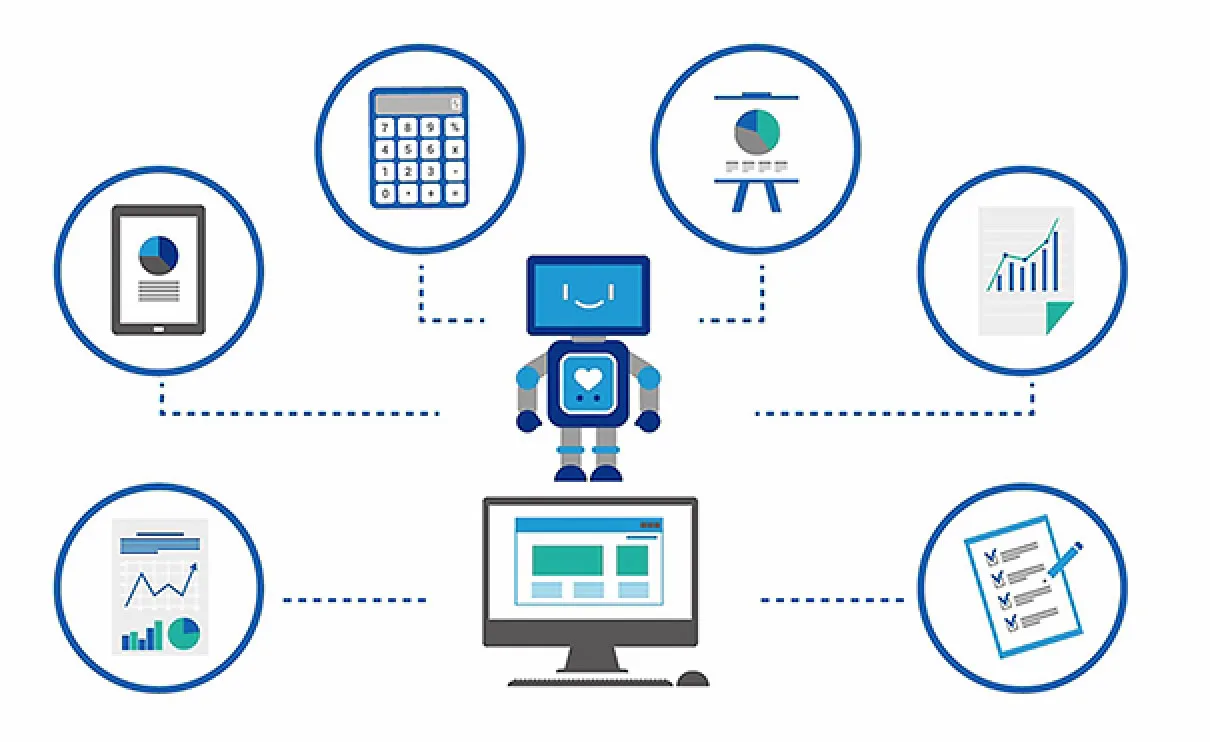
Welcome back to our journey into the world of automation with Python! In the previous blog post, we introduced you to Python as a versatile tool for simplifying your digital life. Today, we’re taking our first steps into the realm of Python automation by guiding you through the process of installing Python and writing your very first Python script.
Why Install Python?
Before we dive into the installation process, you might be wondering, “Why should I bother installing Python?” Well, Python is the key to automation. Whether you want to streamline file management, automate data processing, or interact with websites, having Python on your side makes these tasks a breeze.
Step 1: Installing Python
The great news is that Python is open source and readily available for multiple platforms, including Windows, macOS, and Linux. Here’s how to get started:
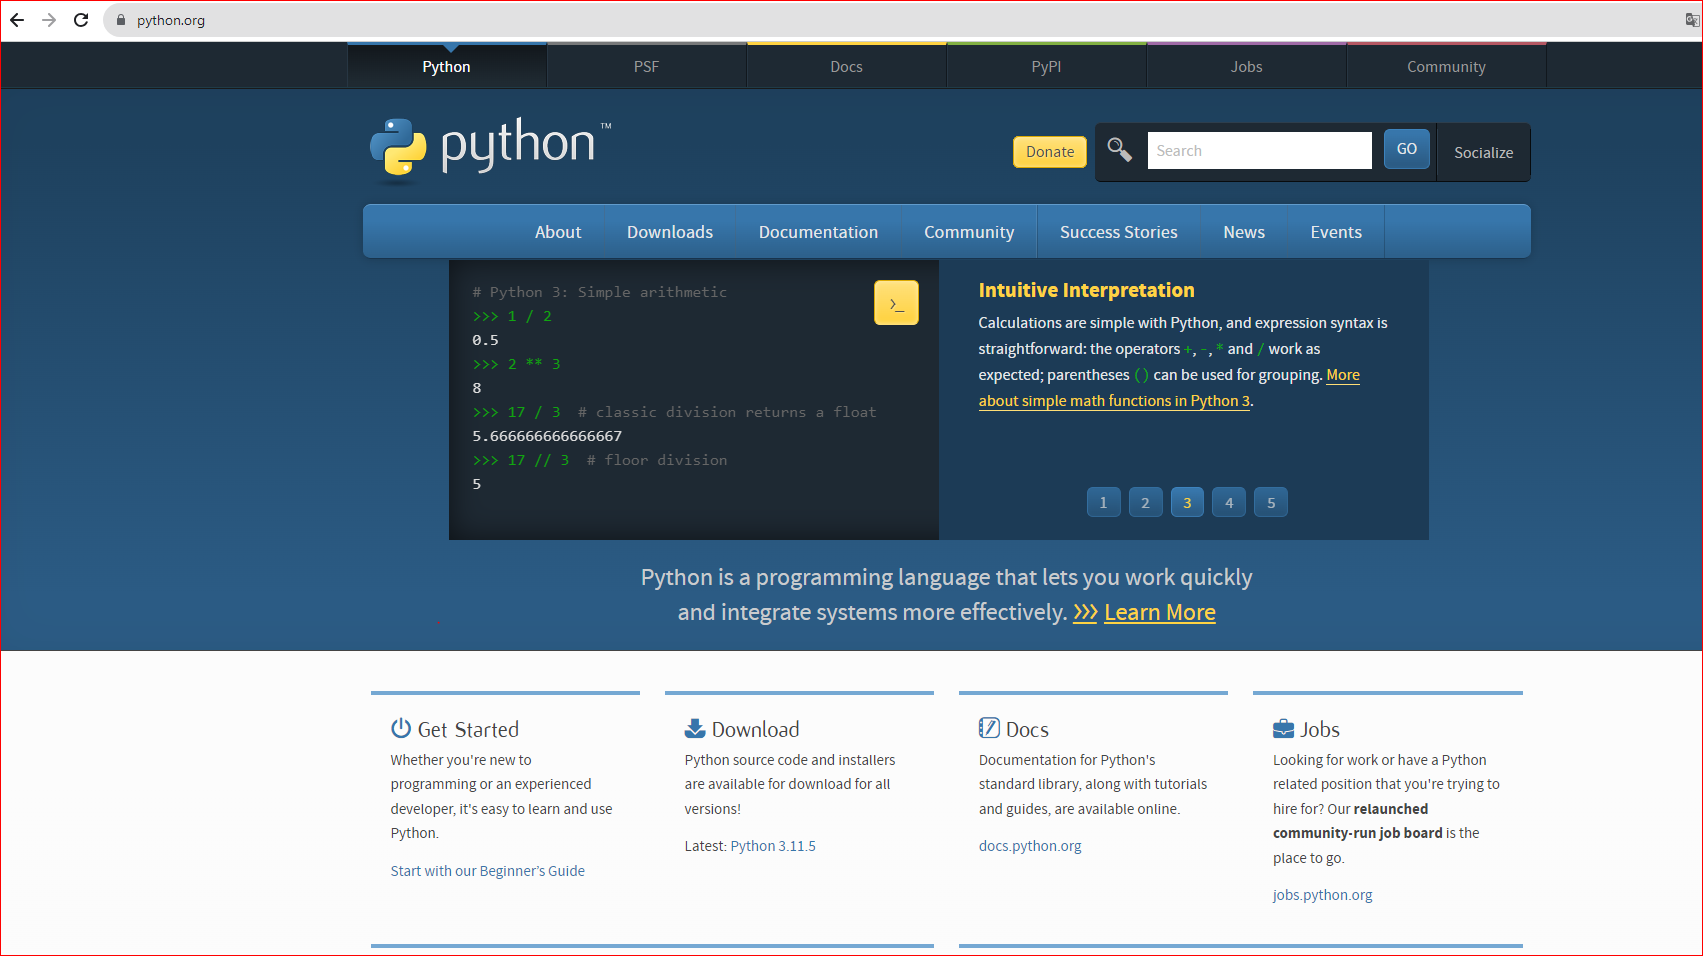
- Visit the Python Website: Go to python.org and download the latest version of Python. Choose the version that matches your operating system (Windows, macOS, or Linux).
- Run the Installer: Once the download is complete, run the installer. Be sure to check the box that says “Add Python X.Y to PATH” (X.Y represents the version number). This step is crucial for easily accessing Python from the command line.
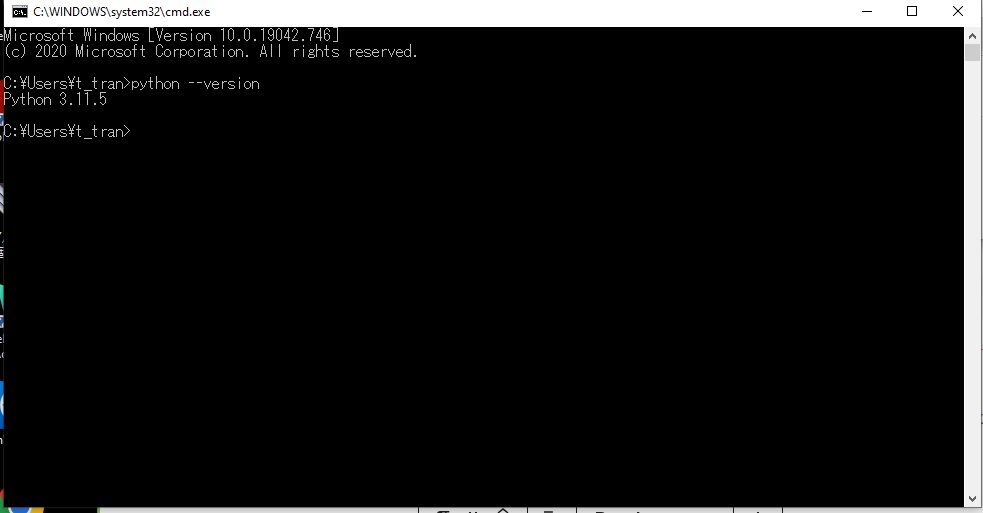
- Installation Complete: After the installation process is complete, open your command prompt (Windows) or terminal (macOS/Linux) and type
python --version. You should see the installed Python version displayed.
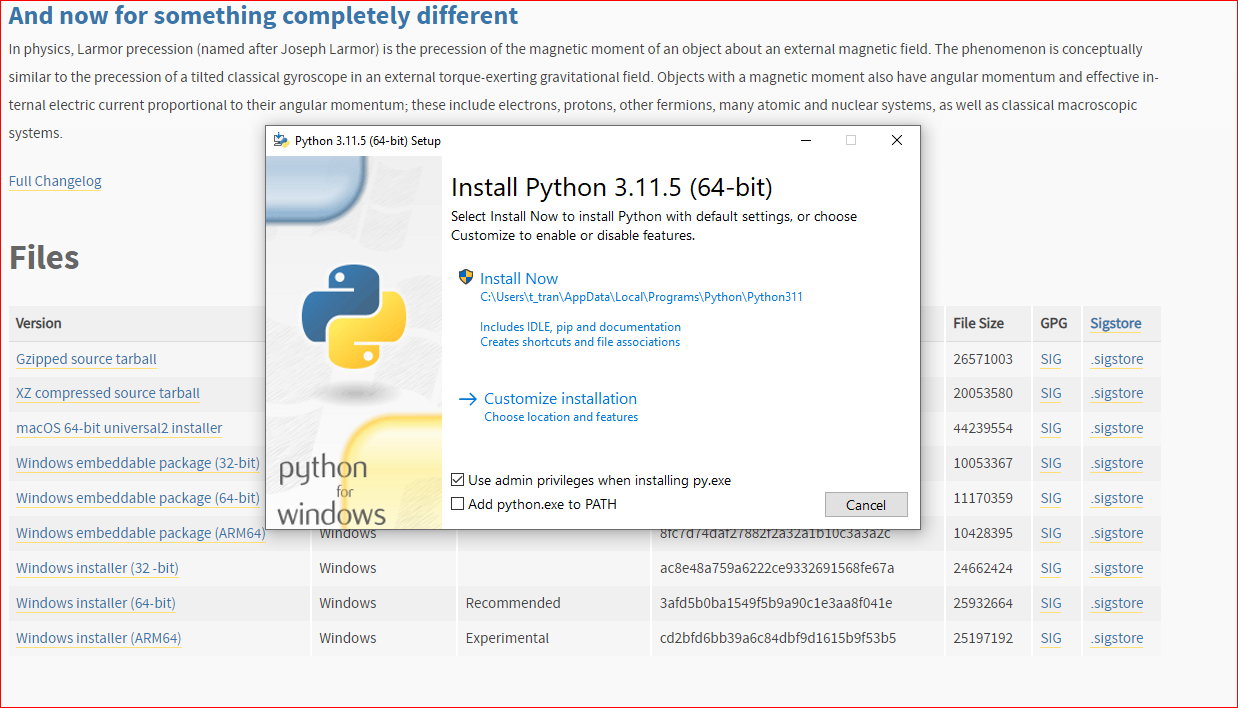
If you accidentally missed clicking “Add python.exe to PATH,” you have the option to manually add the path.
Now, you can verify whether Python has been successfully installed on your PC by running the following command:
Open the command prompt (press Windows key + R, then type ‘cmd’) or terminal, and simply enter ‘python –version’. This will display the installed Python version.
Step 2: Your First Python Script
Now that Python is up and running, it’s time to write your first script. Don’t worry; we’ll start with something simple. Open a text editor (like Notepad on Windows or TextEdit on macOS) and create a new file. Let’s write a script to greet you:

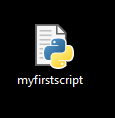
Save this file with a .py extension, such as myfirstscript.py. Next, launch your command prompt or terminal, go to the directory where you’ve stored the file (for instance, if it’s saved on the desktop, use the ‘cd desktop’ command, then navigate to the desktop section), and execute the script by typing: python myfirstscript.py
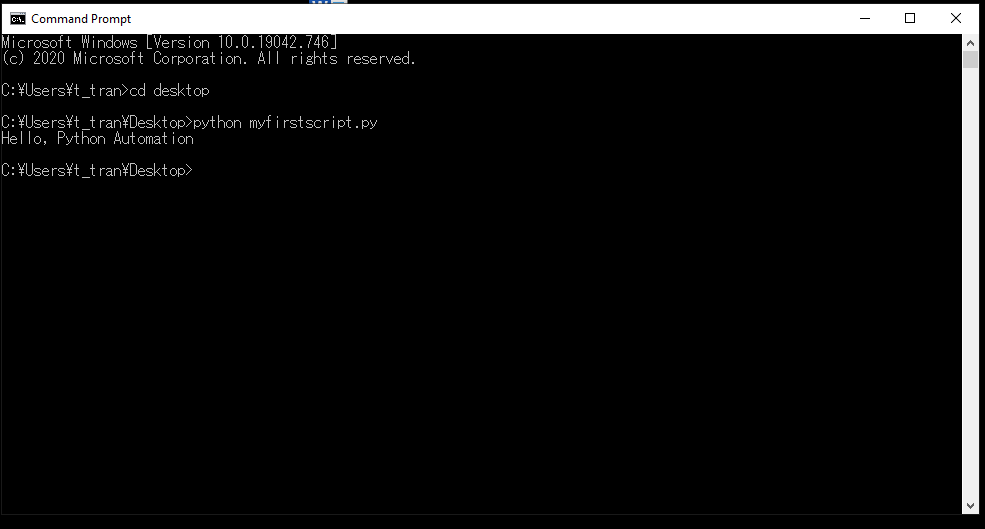
You should see the friendly greeting: “Hello, Python Automation!” displayed on your screen.
What Just Happened?
In these few lines of code, you’ve embarked on your automation journey. The print() function is a basic Python command that displays text. While this may seem trivial, it’s the foundation for more complex automation tasks.
Conclusion: Ready to Automate
With Python installed and your first script under your belt, you’re ready to explore the vast world of automation. In the upcoming blog posts, we’ll delve into more advanced automation topics, like web scraping, data processing, and task scheduling.
Stay tuned, and get ready to harness the true power of Python for automation. And remember, if you find Python challenging and prefer a simpler, cost-effective tool for automating your tasks, RPA CLOUD is the ideal choice to meet all your requirements. Give RPA CLOUD a try today! https://rpa-cloud.io


