If you want to take a screenshot of some information or image on a website to store, report or send to others, how to do it with a RPA CLOUD robot?
Let’s read and follow these steps!
Build the “Take Screenshot” Action
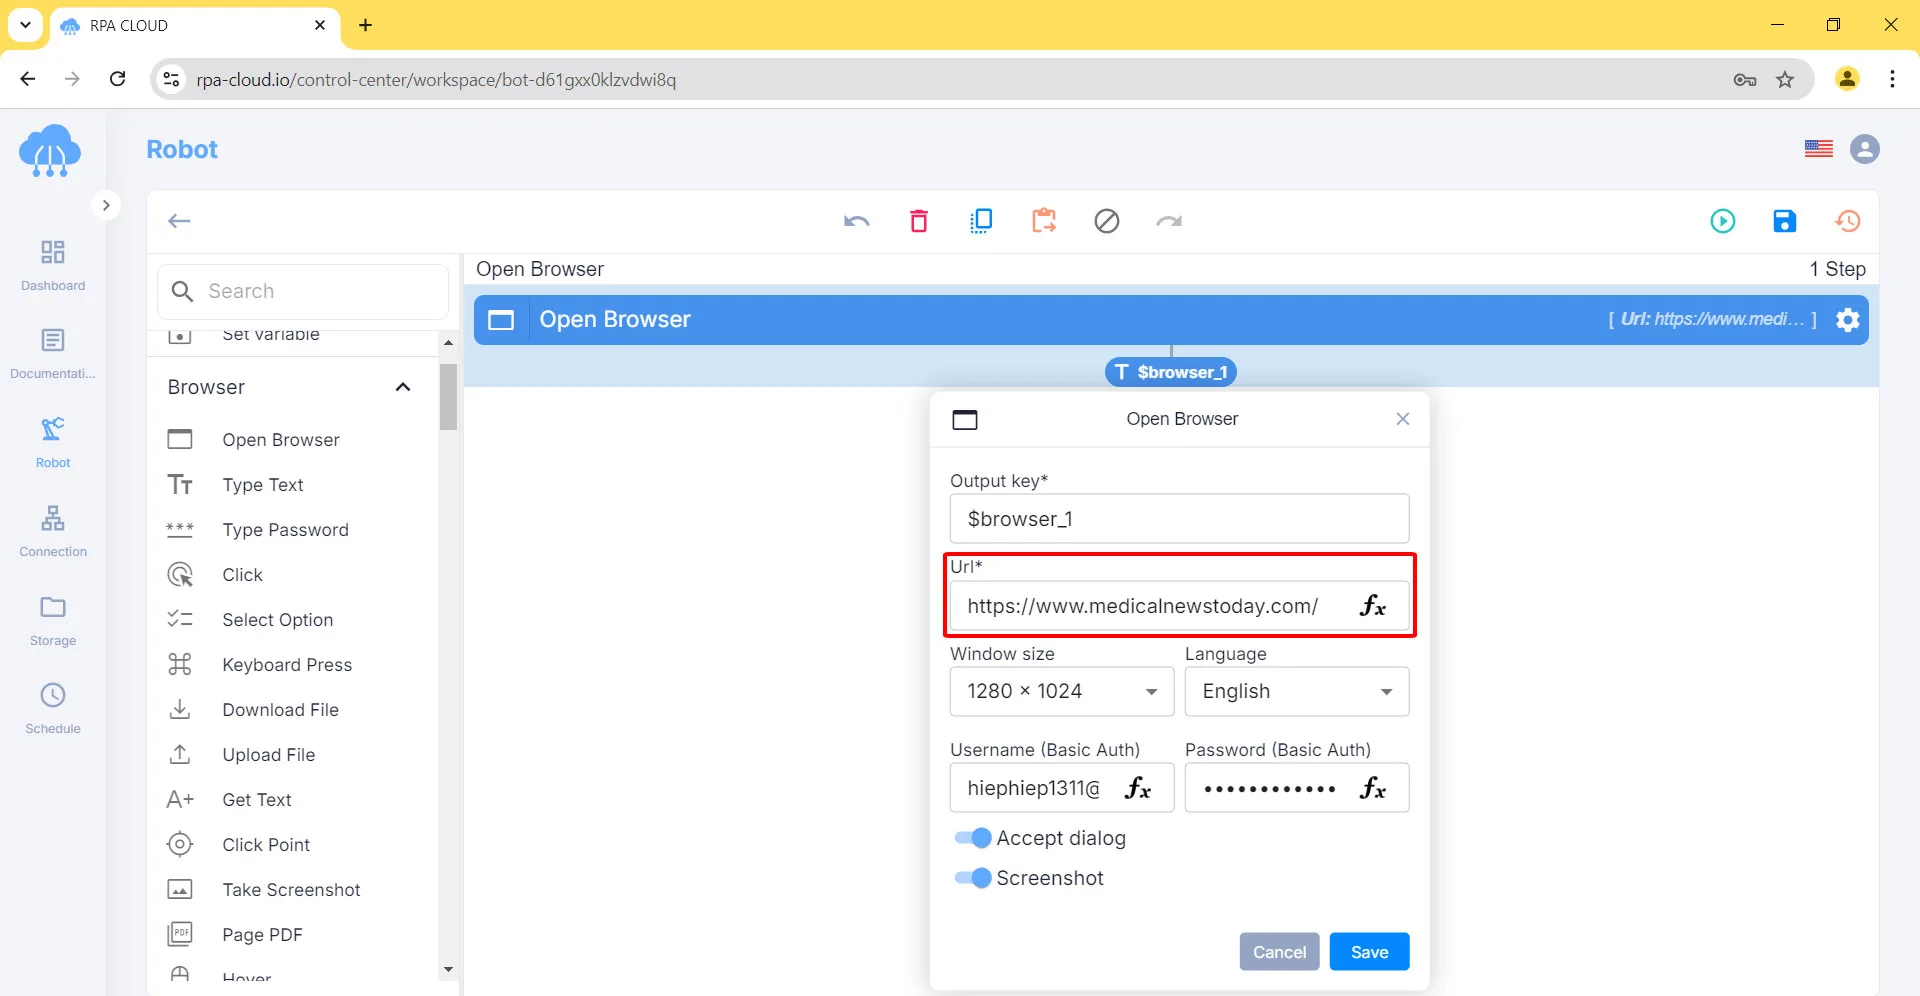
To perform actions with the RPA CLOUD bot on the browser, you must first open the website you want to access and work on, such as the MedicalNewsToday website. You can review this step in the Open Browser lesson
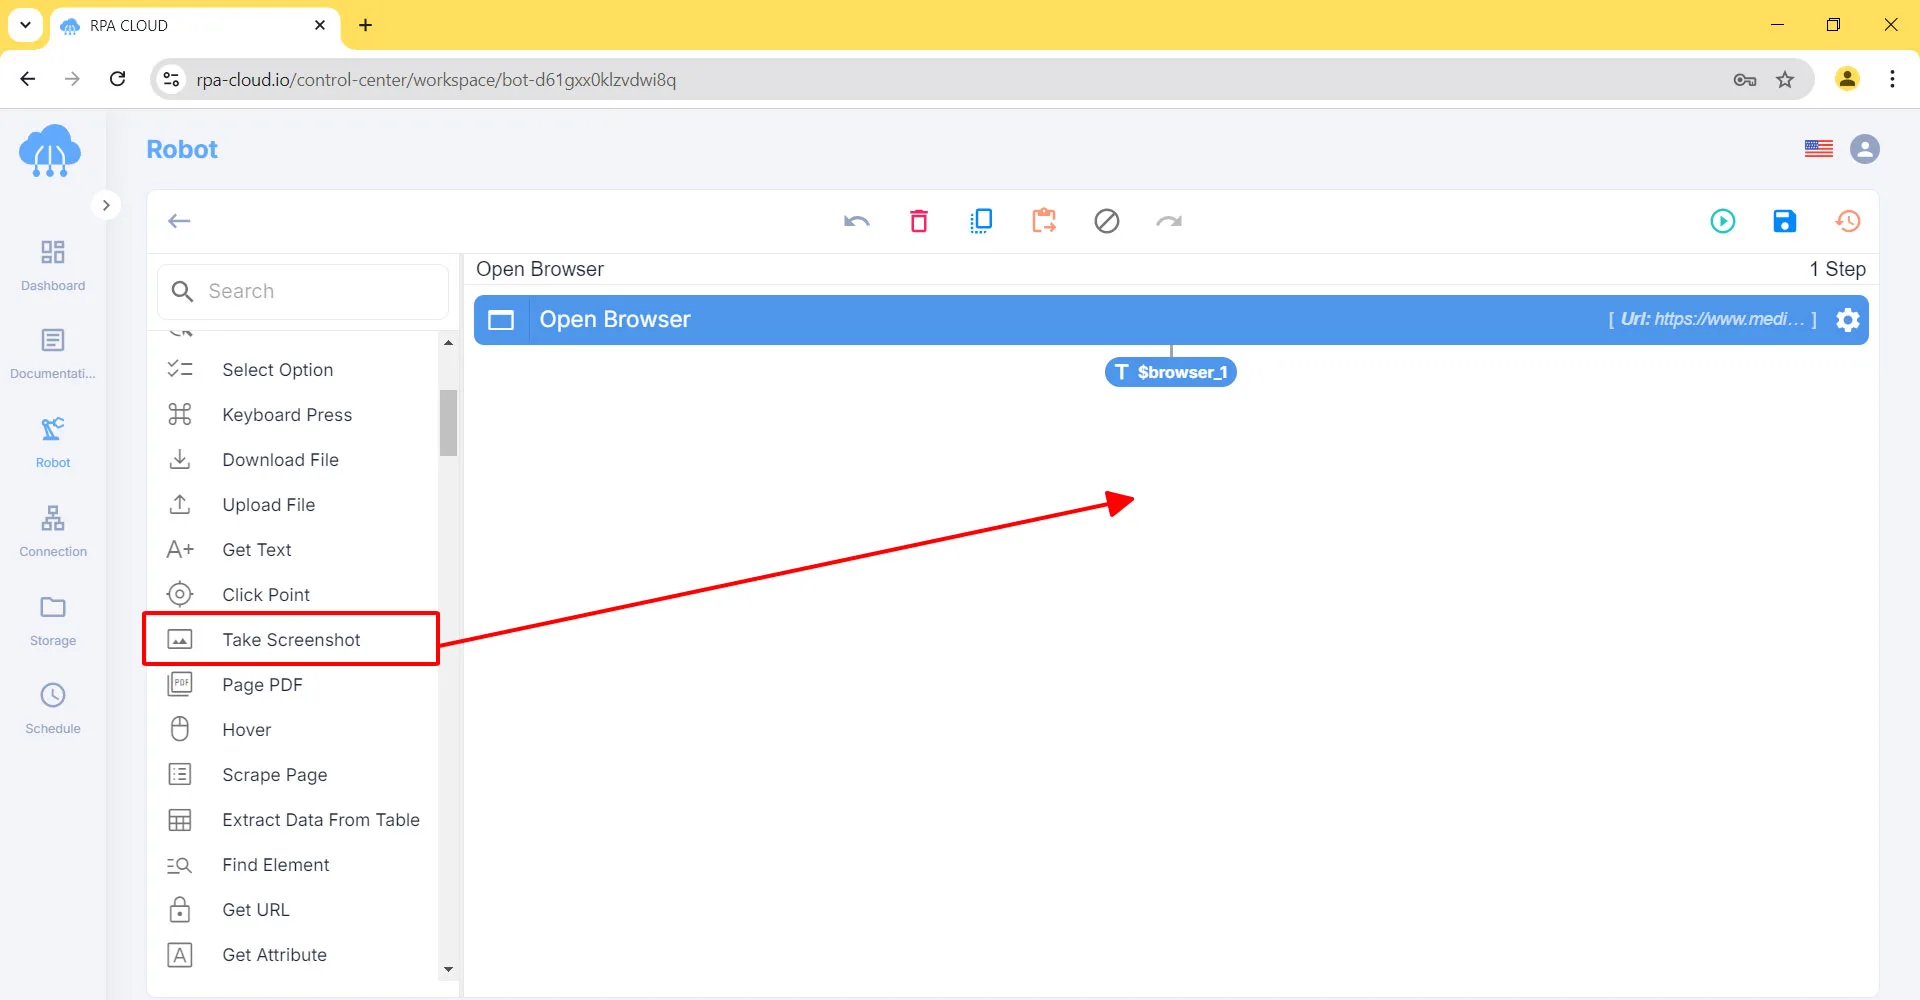
After that, you select the Take Screenshot action located on the left toolbar and drag and drop it onto the white screen to create the next action.
Next, click on the gear icon to open the Take Screenshot box and fill these below boxes in turn.
1. Output key: You choose where you want to store the results you get from the action.
2. Browser: Choose the website you want to get text from. When you have different websites opening, each website will have its own number.
3. Clip: You specify the area of the screenshot you want to crop, in order: left, top, wide, high. The values are separated by commas. If you leave it blank, the robot will take a full screen capture.
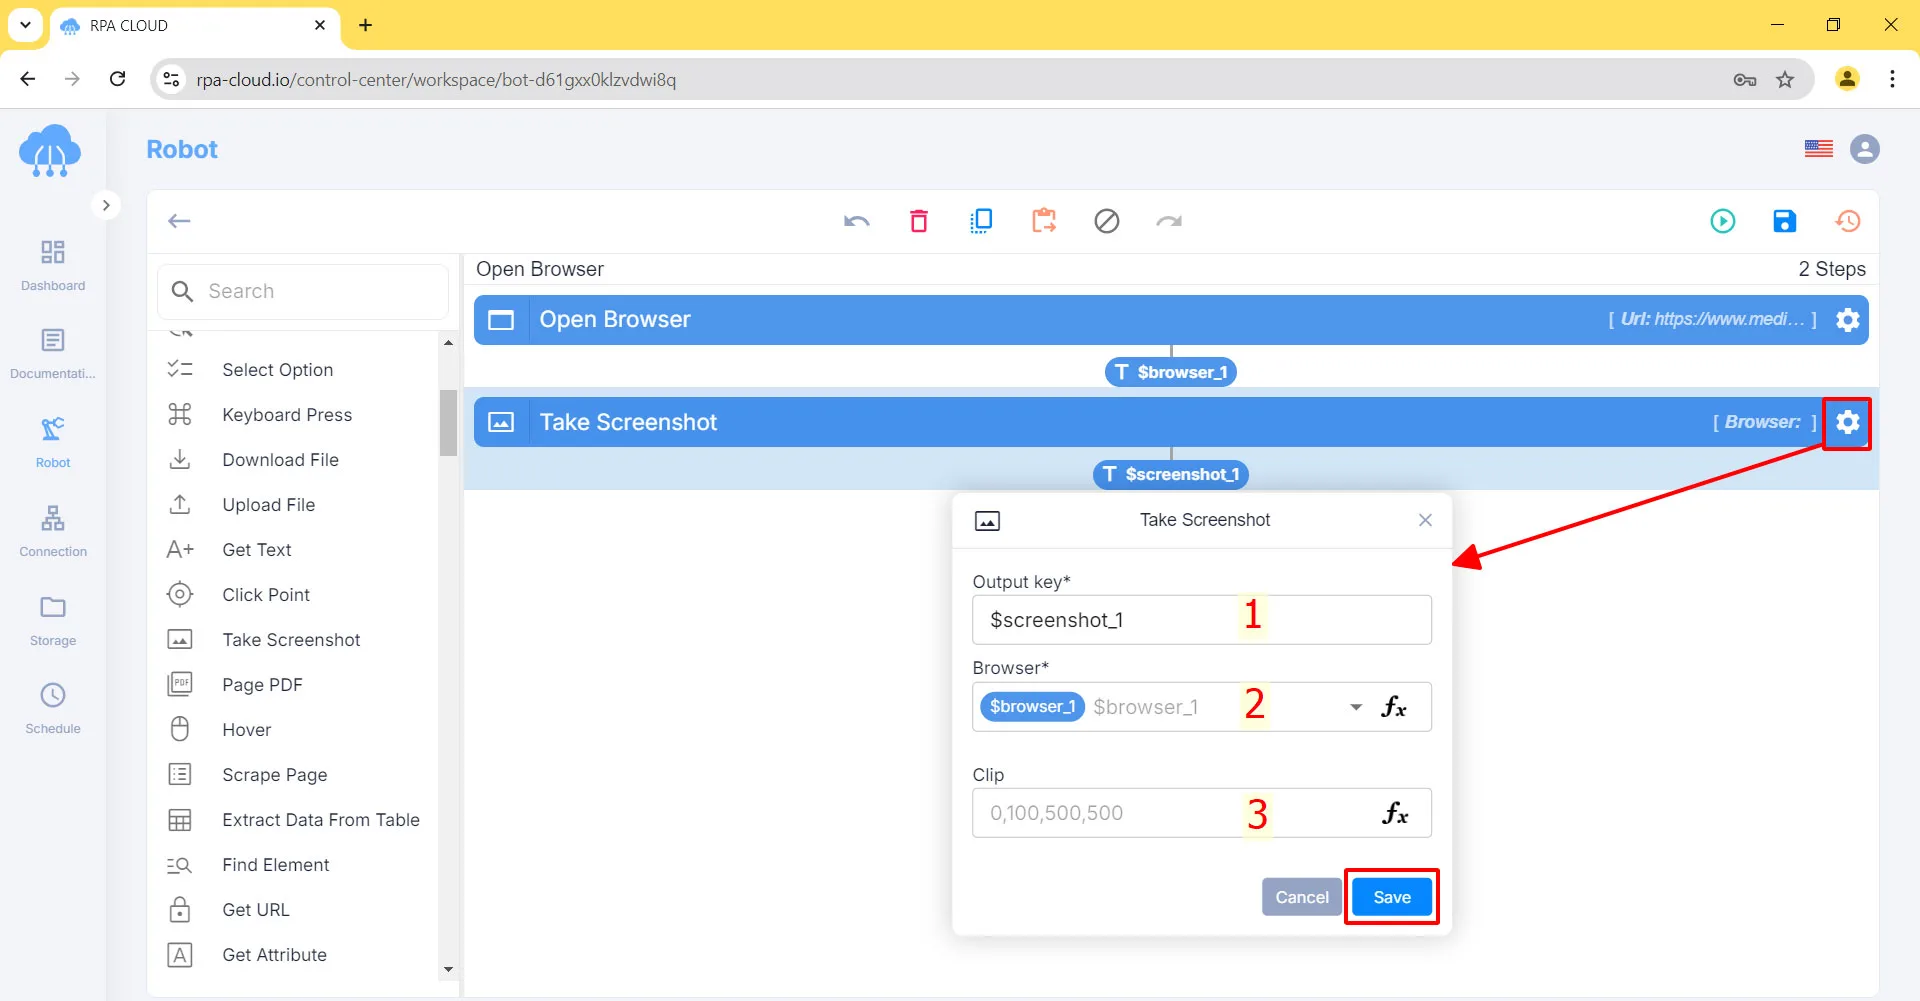
Lastly, click the “Save” button.
< Previous Guide
Next Guide >
Select Option