Hi, you guys, I’m back. In this blog, I will show you how to create workflows in Smartsheet. Smartsheet Workflow Automation is a good platform that can help you plan, organize your work, and automate some repetitive tasks. Thanks to that, you can get more done in less time.
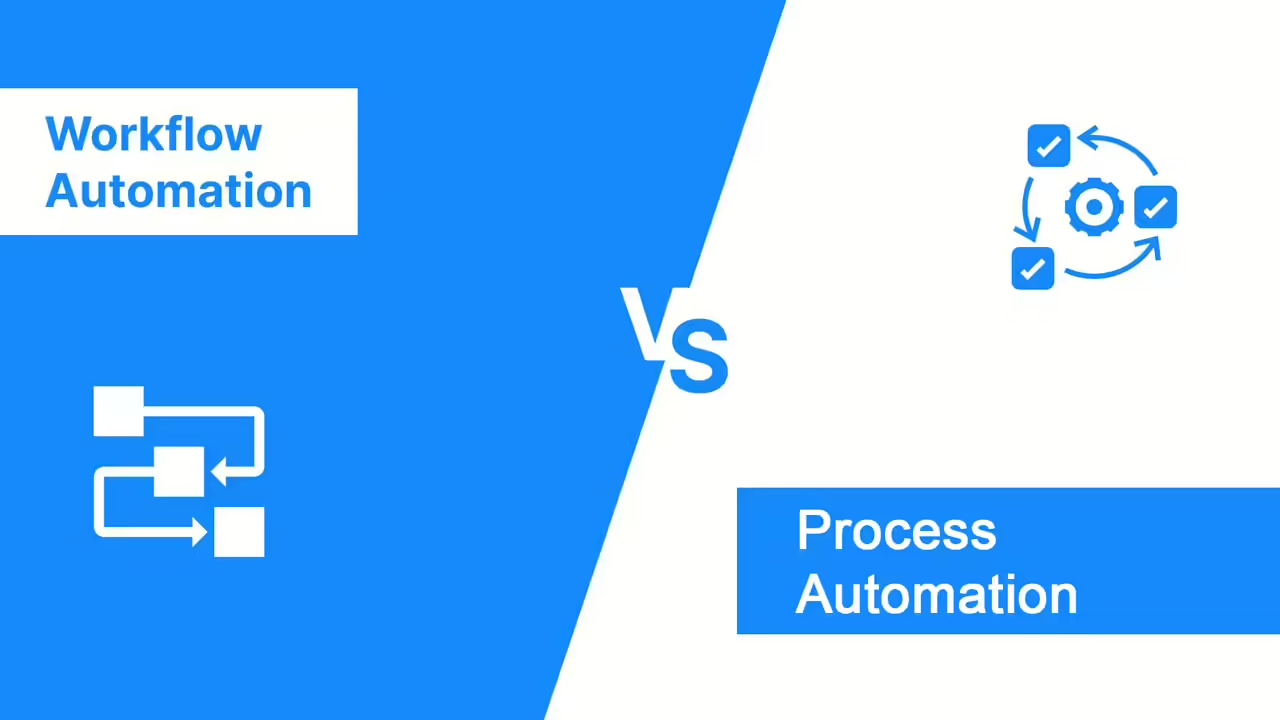
What is Smartsheet Workflow Automation?

Smartsheet’s workflow automation is a tool that helps manage projects or tasks between teams more conveniently and effectively. It works like a hub so users can be on the same page.
Using Smartsheet, you can:
- Create a to-do list and assign tasks to each person.
- Create deadlines for tasks so everyone knows what needs to be done and when it needs to be done.
- Monitor how the project is progressing.
- Share files and exchange information with your team members.
Besides, Smartsheet also provides pre-made templates to help you work faster. You can even automate some tasks on the platform.
How to Set Up a Workflow in Smartsheet Workflow Automation?
Smartsheet workflow automation lets you create custom workflows, which are basically automated to-do lists that tell your team exactly what to do and when.
This section will give you a step-by-step guide to setup a workflow in Smartsheet.
Define Your Workflow
Before you build your workflow in Smartsheet workflow automation, it’s like planning a recipe. Below’s how to define it:
- List all the things that need to be done: Write down every single step involved in your workflow, from start to finish.
- Put the steps in order: Figure out the order in which each task needs to be done. Can some things happen at the same time?
- Are there any choices? Think about if there are any points where the workflow might split into different directions, depending on what happens.
- Who needs to approve things? Are there any tasks that need to be checked or signed off on by someone else before moving forward?
- How will you know you’re done? Decide what needs to happen for each task to be considered finished.
Create a New Sheet
Here’s how to create a new Smartsheet to manage your workflow:
- Log in to your Smartsheet account. This is like opening the door to your Smartsheet workflow automation account.
- Click the “+” button or “Create” button. This is like pressing the “New Document” button in other programs.
- Pick a type of sheet. Smartsheet has different options like project plans, to-do lists, or budget trackers. Choose the one that fits your workflow best.
- Start from scratch or use a template. Templates are like pre-made sheets that you can customize to fit your needs.
- Name your sheet and add details. Give your sheet a clear name and add any instructions for your team.
- Set permissions. Decide who on your team can see and edit the sheet.
- Click “Create” to make your sheet. Now you have a blank canvas to build your workflow!
- Add columns and rows. Columns are like headings across the top, and rows are like lines down the side. Organize them to fit your workflow.
- Fill in your sheet: Add all the information your team needs to complete your workflow.
Set Up Columns & Rows
To organize your sheet with columns and rows:
- Open your Smartsheet and find the workflow sheet you created.
- Add new columns or rows: Click the “+” plus button in the top left corner. It acts like an “Add” button here.
- Choose what kind of information goes in the column: Smartsheet offers options like text, numbers, dates, or even dropdown menus. Pick the one that fits your needs (like Step 3 you read earlier).
- Name your column and customize it (optional): Give your column a clear title and adjust any settings if needed.
- Adding rows: Click the “+” plus button next to the last row, or use the shortcut “Ctrl + Shift + Plus” (hold down the Ctrl and Shift keys and press the Plus key).
- Fill out your rows: Type in all the information your team needs for your workflow. This could be task names, descriptions, or anything relevant.
- Move things around (optional): Want to change the order of your columns or rows? Just drag and drop them where you want them.
- Delete something? (optional): Select the row or column you don’t need anymore and click “Delete.” You can also use the shortcut “Ctrl + Shift + Minus” (hold down the Ctrl and Shift keys and press the Minus key).
Add Task Names
Now that your Smartsheet workflow automation account is organized with columns and rows, it’s time to tell your team what to do! Here’s how to make your instructions clear:
- Task Names: Give each task a short and clear title that sums up what needs to be done.
- Descriptions: Underneath the task name, add a sentence or two explaining what needs to happen for each task. Be sure to include any important details or instructions your team needs to know.
Note: Use simple language and keep things concise. The clearer your instructions are, the smoother your workflow will run.
Assign Tasks
Now that your workflow is clearly defined, it’s time to delegate the tasks. Here’s how to assign tasks in Smartsheet workflow automation:
- Open your Smartsheet and find your workflow sheet.
- Figure out which tasks need someone assigned. Make a note of these tasks.
- Create a new column for assigning people. Think of it like a new label at the top of your sheet. You can call it “Assigned To” or something similar.
- Assign people to tasks: Click on the cell next to each task and choose a name from the list of people on your team. You might also be able to just type their name or email address in the cell.
- Repeat for all tasks: Keep going until everyone has their assignments!
- Save your sheet. Now your team will know exactly who is responsible for each task.
Set Due Dates & Reminders
Now that everyone knows their tasks, let’s set deadlines and reminders to keep things moving. Here’s how:
- Pick the tasks that need deadlines: Decide which tasks have a specific date they need to be finished by.
- Find the due date column: Look for a column titled “Due Date” or something similar in your Smartsheet.
- Set the due date for each task: Click on the cell next to the task and pick a date from the calendar.
- Add reminders (optional): Want to give your team a heads-up before the deadline? Click on the cell and choose “Reminders.” Then pick when and how often you want the reminder to go off.
- Save your sheet. Now your team will see their deadlines and any reminders you set.
Add Attachments
Now that your workflow is set up, let’s make it easy for your team to work together. Here are two ways to do that:
- Attachments: Need to share a document, image, or video related to a task? Upload it as an attachment! Just click on the task and find the option to “Attach a file.” This will give your team all the information they need in one place.
- Comments: Have a question about a task, or need to update your team on something? Leave a comment. Click on the task and type your message in the comments section. This is a great way to chat with your team without needing extra emails.
Note: Too many attachments and comments can make things messy. Use them when they’re helpful, but keep things focused to avoid confusion.
Make Alerts
This step lets you set up alerts and notifications in Smartsheet workflow automation, but it’s optional. Here’s how it works:
- Open your workflow sheet and go to the “Home” tab.
- Click on “Automation.” This is where you can set up automatic actions in Smartsheet.
- Under “When,” choose something to trigger the alert, like a task being assigned or a deadline coming up.
- Under “Then,” pick how you want to get notified, like an email or a message in Smartsheet.
- Enter the email addresses or names of the people who should get the alerts.
- Write a quick message to let them know what’s happening.
- Save your settings and test it out to make sure it works.
- Alerts and notifications can help your team stay on top of things. They can get reminders about deadlines or updates on tasks.
Test
This final step is about making sure it works well for your team. You can skip this step if you’re short on time, but it can be helpful in the long run.
Here’s how to test and improve your workflow in Smartsheet workflow automation:
- Take a look at your workflow: See if there are any steps that seem confusing or might slow things down.
- Try it out yourself: Go through each task in your workflow like your team members would to make sure it works.
- Ask your team for feedback: Once they start using the workflow, see what they think. Do they have any suggestions for making it easier?
- Make changes based on feedback: Use what you learn from yourself and your team to improve your workflow.
- Test it again: After you make changes, try it out again to see if the problems are fixed.
- Keep an eye on how it’s going: You should check if there are any other areas that could be improved.
- Make adjustments as needed.
- Keep track of changes: If you make changes to your workflow, write them down.
- Let your team know: If you make changes, you should tell your team.
Read more: