When using Laravel Workflow Automation, it can help you set up a consistent and automated workflow. From there, it helps you and your team get work done quickly and accurately, and contributes to improving customer experience more easily.
In particular, Laravel’s workflow engine contains triggers and tasks. Read this article to explore many important aspects of Laravel Workflow Automation.
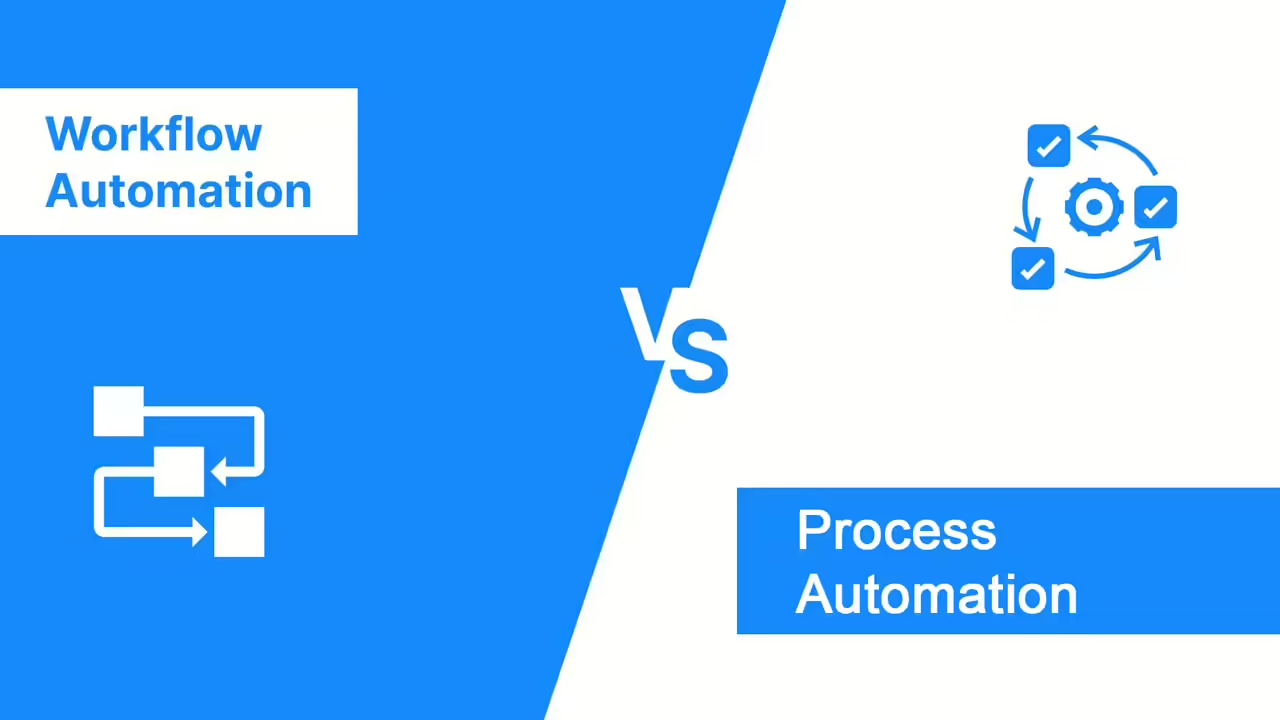
What is Laravel Workflow Automation?
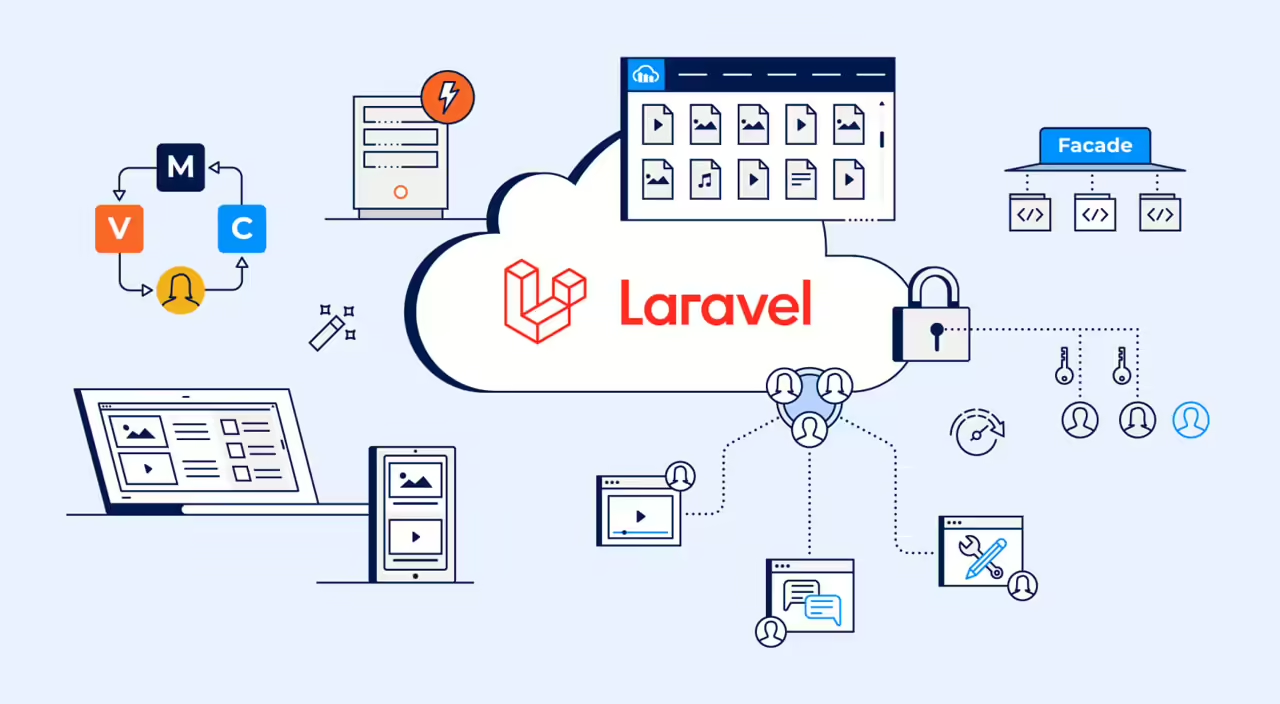
Laravel Workflow Automation is a tool for developers that helps them build complex processes step-by-step. Imagine a long recipe with many ingredients and steps – Laravel Workflow helps break that recipe down into smaller tasks. This makes it easier to build things like data pipelines (which move information around) and microservices (which are small, focused programs).
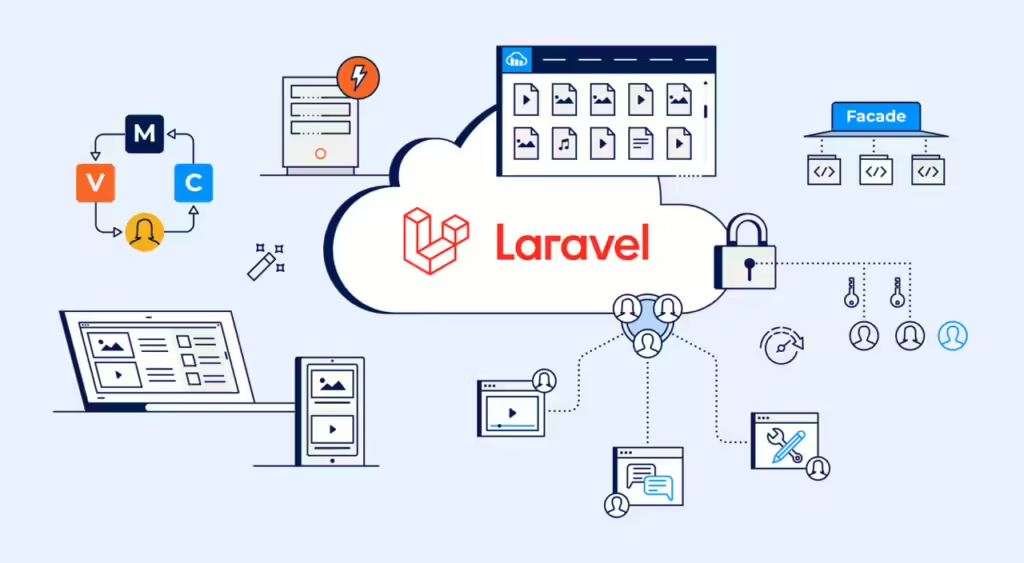
This platform works alongside Laravel, a popular web development tool. It uses Laravel’s built-in queuing system and database to keep track of everything and make sure the workflow runs smoothly. Laravel Workflow is designed to be easy to use, reliable, and easy to maintain over time.
Why Should You Use Laravel Workflow Automation?
There are a few reasons why Laravel Workflow Automation might be a good choice for developers:
- Easy to use for Laravel Developers: If you already know Laravel, you’ll pick up Laravel Workflow quickly. It uses the same building blocks as Laravel, so you don’t have to learn a whole new system.
- Simple and Clear: Laravel Workflow is designed to be easy to understand and use. It has clear instructions and follows common patterns, so you can build complex things without getting stuck.
- Can Handle Big Jobs: Laravel Workflow can handle large and complicated tasks by breaking them down into smaller pieces. It can also run these pieces on multiple computers at the same time, making it super fast and reliable.
- Free and Growing Community: Laravel Workflow is free to use and there are lots of people who use and improve it. This means you can get help if you need it and contribute to making it even better.
- More Powerful Than Basic Queues: While Laravel has built-in queuing, Laravel Workflow gives you more control. You can set up your tasks to run in different orders or repeat themselves, and you can easily track how the entire process is going. It’s more flexible than just running jobs one after another.
How to Install Laravel Workflow Automation?
Here are requirements and a detailed guideline to install Laravel Workflow Automation. Let’s explore!
Essential Factors
What you need to use Laravel Workflow Automation:
- Modern PHP: Laravel Workflow needs a recent version of PHP (version 8 or later) to run properly.
- Laravel Up-to-Date: Make sure you’re using the latest Laravel (version 9 or later) as well.
- Jobs in Line (Queues): Laravel Workflow uses queues to manage tasks. It works with most queue systems that Laravel supports, like Amazon SQS, Beanstalkd, Database, and Redis (each has its own setup requirements).
- Remembering Stuff (Cache): Laravel Workflow also needs a system to remember things temporarily (cache) that supports “locks” to avoid conflicts.
Note: If you’re using Amazon SQS for queues, there’s a limit of 15 minutes (900 seconds) for delays. This means some Laravel Workflow features might not work for very long delays with SQS. This is a limitation of SQS, not Laravel Workflow itself. If you need longer delays, consider using a different queue system like Redis.
Set Up
To use Laravel Workflow Automation in your project, you’ll need to install it first. There’s a tool called Composer that helps with this. In your project directory, run this command:
composer require laravel-workflow/laravel-workflowThis installs Laravel Workflow. There’s also some additional setup needed for the database. Run this command to take care of that:
php artisan vendor:publish --provider="Workflow\Providers\WorkflowServiceProvider" --tag="migrations"After that, run this command to create the necessary tables in your database:
php artisan migrate
Behind the Scenes:
Laravel Workflow uses a system called “queues” to run tasks in the background. To make these queues work, you’ll need to run a separate program. You have two options:
- Run the queue:work command.
- Use a tool called Horizon (separate installation required).
Note: Without this background program running, your workflows won’t work! Also, there’s a specific queue type called “sync” that doesn’t work with background processing.
Laravel Workflow Features
Laravel Workflow Automation helps you run steps in your program, fix mistakes, and keep track of everything.
Signals
Signals are like pressing those buttons from outside the workflow. This can be useful for two reasons:
Something happens outside the workflow that needs the workflow to react.
Another task is finished, and it needs to tell the workflow to move on.
To create a button (signal) for your workflow, you use a special tool called SignalMethod. This tool lets you define a method that will be called when the button is pressed. The method can also receive information from the button press.
Here’s an example:
// This tells the workflow that a button named “setReady” has been pressed with the value “true”
$workflow->setReady(true);
Sometimes your workflow might need to wait for something to happen before it can continue. Signals are one way to do this, but there’s another way too. You can use a special tool called await to pause the workflow until a specific condition is met.
Here’s an example:
The workflow will wait here until something makes $this->ready turn to true. This could be a signal, or something else entirely!
Note: This await tool can only be used inside the workflow itself, not in the separate tasks your workflow runs.
Queries
This tool lets you peek into your workflow while it’s running, without interrupting it. This is helpful for seeing how things are going and fixing any problems.
To add a peephole (query method) to your workflow, you use a special tool called QueryMethod. This lets you define a method that can be called to get information about the workflow.
Here’s an example of a peephole that checks if a step called “ready” has been completed:
// This asks the workflow if “ready” is done and stores the answer in $ready
$ready = $workflow->getReady();
Note: Peeking with queries doesn’t move the workflow forward, unlike sending signals. It just lets you see what’s happening.
Heartbeats
Normally, the workflow might think you’ve crashed and stop waiting for you. To prevent this, you can send “heartbeats” like little check-in messages.
Heartbeats tell the workflow that you’re still working, even if it takes a long time. As long as you send these heartbeats regularly, the workflow will keep waiting for you to finish, even if it takes longer than usual.
Here’s an example:
use Workflow\Activity;
class MyActivity extends Activity
{
public $timeout = 5;
public function execute()
{
while (true) {
sleep(1);
$this->heartbeat();
}
}
}
In this example, the task would normally time out after 5 seconds. But because it sends heartbeats, the workflow keeps waiting until the task finishes.
Note: Heartbeats only help if you’re truly working and not stuck. If your task actually crashes, the heartbeats will stop, and the workflow will time out eventually.
Side Effects
If the workflow fails and needs to be restarted, it would roll the dice again and get a different number. This might not be what you want.
To prevent this, you can use a special tool called sideEffect. This lets you wrap some code in a box and tell the workflow to only run that code once, no matter what. The result of that code is then saved and remembered by the workflow.
Here’s an example:
use Workflow\Workflow;
use Workflow\WorkflowStub;
class MyWorkflow extends Workflow
{
public function execute()
{
// This code will only be run once, even if the workflow fails and retries
$waitTime = yield WorkflowStub::sideEffect(fn () => random_int(60, 120));
// Use the saved wait time
yield WorkflowStub::timer($waitTime);
}
}
In this example, the random_int function is only called once to get a wait time. This wait time is then saved by the workflow and used later, even if the workflow fails and needs to be restarted.
Note: The code inside a side effect should never fail because it won’t be retried. If your code might fail, you should use a regular workflow step (activity) instead.
Timers
Laravel Workflow Automation lets you pause your workflow for a bit and then pick up where you left off. This is useful for a few reasons:
- You might need to wait a while before continuing (like waiting for a payment to process).
- You might want to try a step again if it fails (like retrying a connection timeout).
- You might only want the workflow to run for a certain amount of time (like a timeout).
To take a break, you use a tool called timer inside your workflow. This tells the workflow to wait for a specific amount of time before moving on. You can specify the wait time in seconds (e.g., 5) or even use words like “5 seconds” or “30 minutes”.
Note: When using brakes (timers), there’s a special tool called WorkflowStub::now to check the current time. Don’t use the regular way (e.g., Carbon::now()) because the workflow might have its own idea of what time it is.
Read more: